How to Use Vercel or Netlify to Deploy Your Website for Free
Learn how to deploy your website for free using Vercel or Netlify with this step-by-step guide covering setup, Git integration, custom domains, and best practices.

How to Use Vercel or Netlify to Deploy Your Website for Free
Launching a website used to mean buying hosting plans, configuring servers, and wrestling with deployment scripts. Today, modern platforms like Vercel and Netlify let developers, freelancers, and small businesses deploy production-grade websites in minutes — completely free for hobby and starter projects. Whether you are publishing a portfolio, a static blog, a Next.js application, or a React single-page app, both platforms offer instant global deployment, automatic HTTPS, and Git-based workflows that turn every push into a live preview. This guide walks you through everything you need to know to choose between Vercel and Netlify, set up your first deployment, connect a custom domain, and follow proven best practices that keep your site fast, secure, and scalable as you grow.
Build a Production-Ready Website With WebPeak
Before you deploy, you need a website that is worth deploying — clean code, fast load times, accessible UI, and conversion-focused design. WebPeak is a full-service digital agency that helps brands worldwide build modern, scalable websites optimized for performance and SEO. Their team specializes in web development services using stacks like Next.js, React, and the MERN stack, and they also offer dedicated Next.js web development tailored for Vercel deployments. From custom builds to maintenance, WebPeak ensures your site is deployment-ready from day one.
Why Choose Vercel or Netlify for Free Hosting
Vercel and Netlify dominate the modern Jamstack hosting space because they remove almost every traditional barrier to going live. Both platforms offer generous free tiers that include unlimited static deployments, automatic SSL certificates, global CDN distribution, and continuous deployment from GitHub, GitLab, or Bitbucket. You do not need to manage servers, configure NGINX, or pay for SSL — every push to your main branch automatically rebuilds and deploys the site worldwide.
Vercel is the company behind Next.js, so it offers unmatched first-class support for React-based frameworks, serverless functions, edge middleware, and image optimization out of the box. Netlify, on the other hand, was a pioneer of the Jamstack movement and shines with static sites, form handling, identity services, and a rich plugin ecosystem. For most personal projects and early-stage startups, either platform will be more than enough — and switching later is straightforward because both rely on standard Git workflows.
Step-by-Step Guide to Deploying on Vercel
Deploying on Vercel takes about five minutes if your project is already in a Git repository. First, create a free account at vercel.com using your GitHub, GitLab, or Bitbucket login. Once authenticated, click the “Add New Project” button on your dashboard and select the repository you want to deploy. Vercel automatically detects the framework — Next.js, React, Vue, Astro, SvelteKit, and many others — and pre-fills the build command and output directory.
If your project needs environment variables, such as API keys or database URLs, add them under the “Environment Variables” section before clicking Deploy. Within a minute, Vercel builds your project and assigns it a free .vercel.app subdomain. Every future commit to your main branch will trigger a new production deployment, and pull requests automatically generate unique preview URLs you can share with clients or teammates. To connect a custom domain, open the project’s “Domains” tab, enter your domain, and update the DNS records at your registrar — Vercel walks you through it visually.
Step-by-Step Guide to Deploying on Netlify
Netlify follows a similar Git-based workflow but with its own polished interface. Sign up at netlify.com, click “Add new site,” and choose “Import an existing project.” Connect your Git provider and select the repository. Netlify will ask for your build command (for example, npm run build) and your publish directory (often dist, build, or out depending on the framework). Click Deploy site, and Netlify provisions a free .netlify.app subdomain.
Netlify’s drag-and-drop deploy is especially helpful for beginners — you can literally drag a folder of static HTML files into the dashboard and have a live URL in seconds. Beyond static sites, Netlify supports serverless functions, edge functions, scheduled jobs, and built-in form handling without any backend code. Custom domains are added under “Domain settings,” and Netlify provides free Let’s Encrypt SSL certificates that renew automatically. For larger teams, role-based access control and deploy notifications make collaboration painless.
Best Practices and Optimization Tips After Deployment
Going live is only the beginning. To get the most out of free hosting, lean into the platform’s performance features. Enable image optimization (Vercel’s next/image or Netlify’s image CDN), use environment-specific build settings, and configure caching headers to keep your site lightning fast. Add a custom 404 page and redirect rules through vercel.json or netlify.toml to maintain SEO when you change URLs.
Always monitor your build minutes and bandwidth usage on the free tier so you do not get throttled during traffic spikes. Set up branch deploys to test features safely, integrate analytics through Vercel Analytics or Netlify Analytics, and connect a content management system like Strapi, Sanity, or Contentful for editorial workflows. Finally, run Lighthouse audits regularly and apply on-page SEO improvements — title tags, meta descriptions, structured data, and Core Web Vitals tuning — so your free site can compete with paid enterprise sites in search rankings.
Frequently Asked Questions
Is Vercel or Netlify completely free forever?
Both platforms offer permanently free hobby tiers with generous bandwidth, build minutes, and unlimited sites for personal use. You only need to upgrade if you exceed those limits, need team features, or run commercial projects with heavy traffic.
Which platform is better for Next.js projects?
Vercel is generally the best choice for Next.js because it is built and maintained by the same team. You get first-class support for ISR, edge functions, image optimization, and analytics with zero configuration.
Can I use my own domain name on the free plan?
Yes. Both Vercel and Netlify allow unlimited custom domains on the free tier and provide free auto-renewing SSL certificates from Let’s Encrypt. You only pay for the domain registration itself at your registrar.
How long does deployment take?
Most static sites and small Next.js apps deploy in under two minutes. Larger projects with complex builds may take five to ten minutes, but both platforms cache dependencies between builds to keep deploys fast.
Can I switch from Netlify to Vercel later?
Absolutely. Because both platforms use standard Git-based workflows and framework-agnostic build commands, migrating is usually a matter of importing the same repository on the new platform and updating DNS records.
Conclusion
Vercel and Netlify have democratized web deployment, giving developers and small businesses enterprise-grade hosting without an enterprise budget. With Git integration, automatic SSL, global CDNs, and serverless capabilities baked in, you can focus on building great products instead of managing infrastructure. Whether you choose Vercel for its Next.js mastery or Netlify for its Jamstack heritage, the free tier is more than enough to launch your next idea — and when you are ready to scale, both platforms grow seamlessly with you.
Related articles
 Web Development
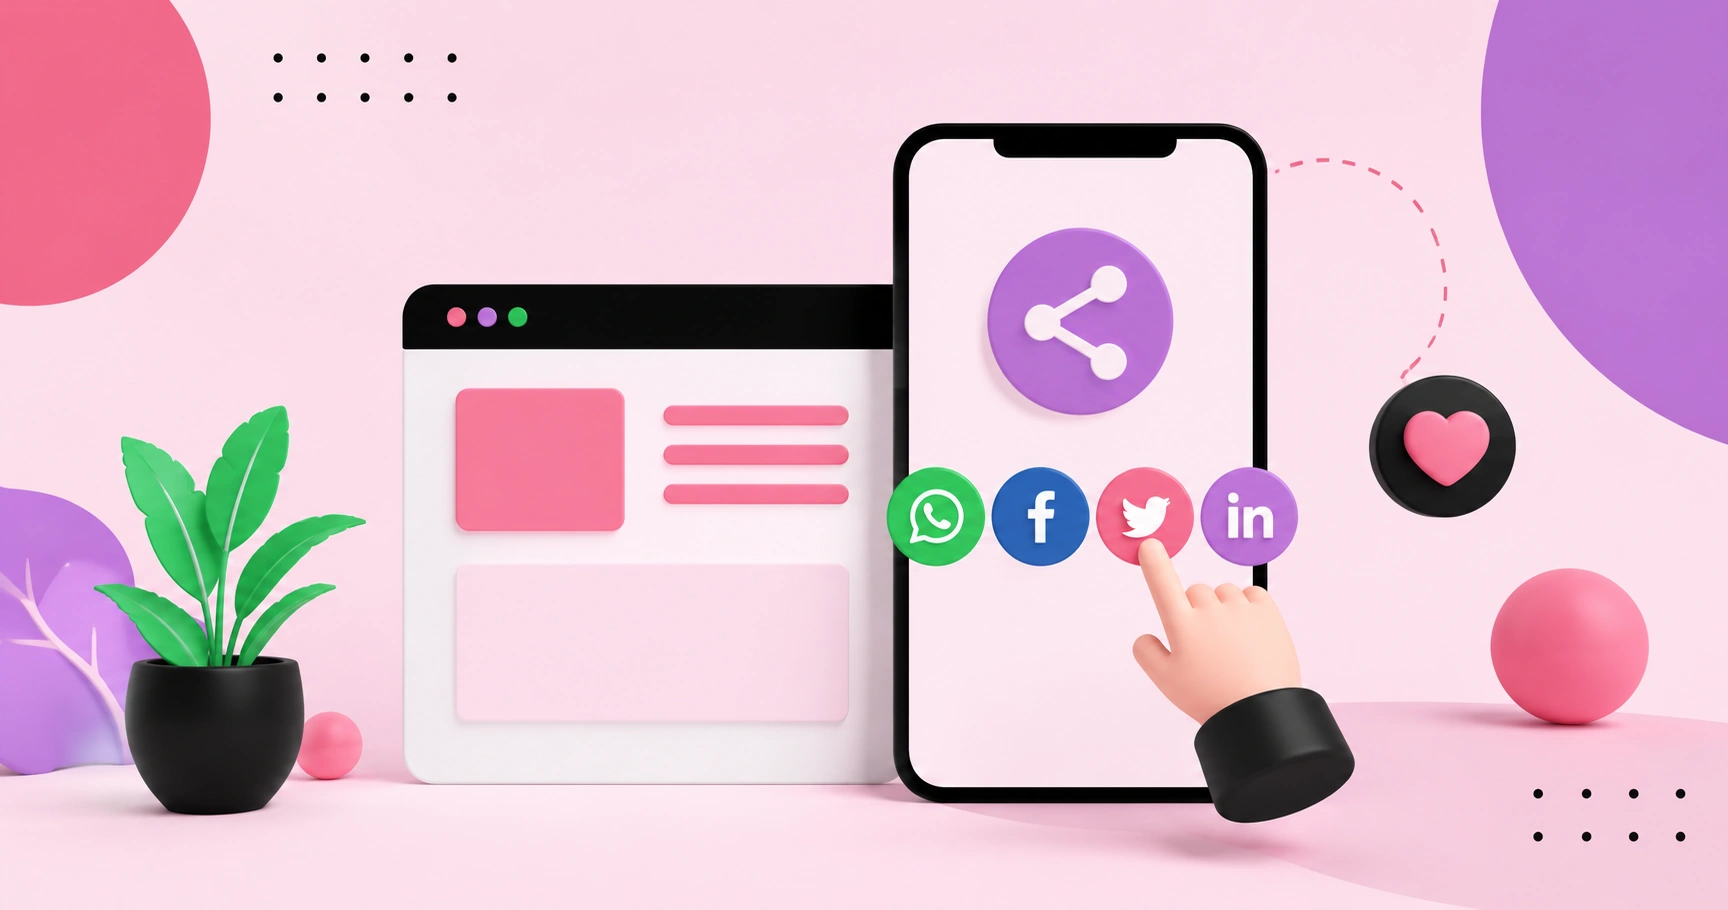
How to Choose Social Media Share Buttons for Your Website
Learn how to choose social media share buttons that boost shares without slowing your site, with placement, performance, and platform selection best practices.
 Web Development
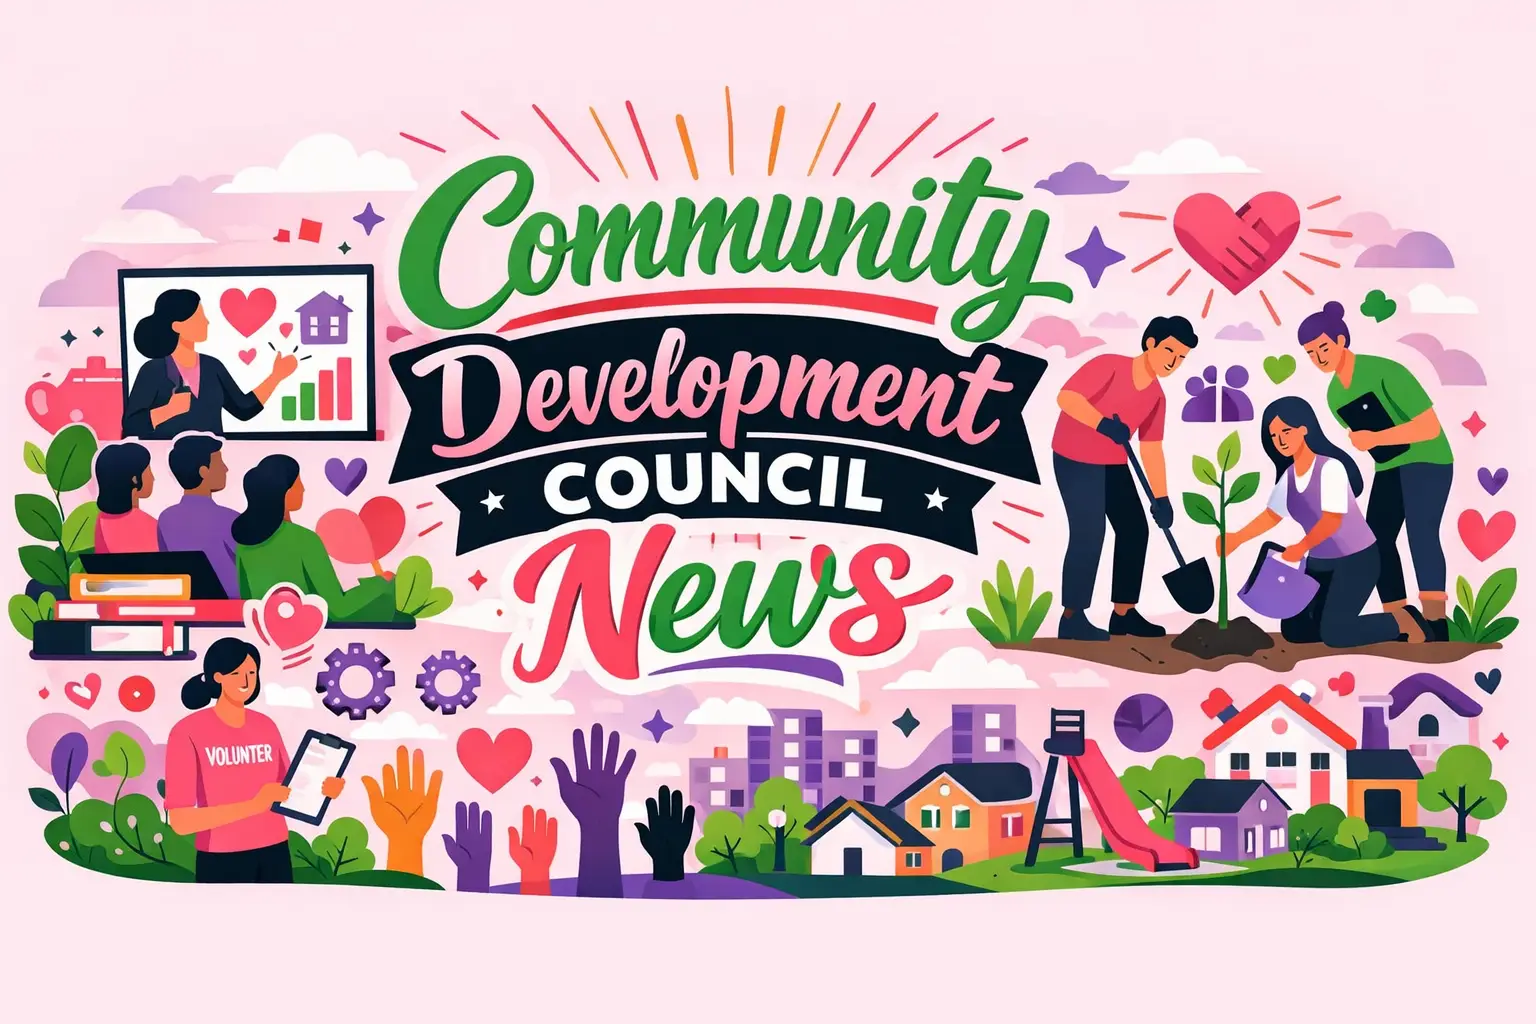
Community Development Council News
Community Development Council News provides insights into development projects, funding programs, urban planning strategies, and community growth initiatives.
 Web Development
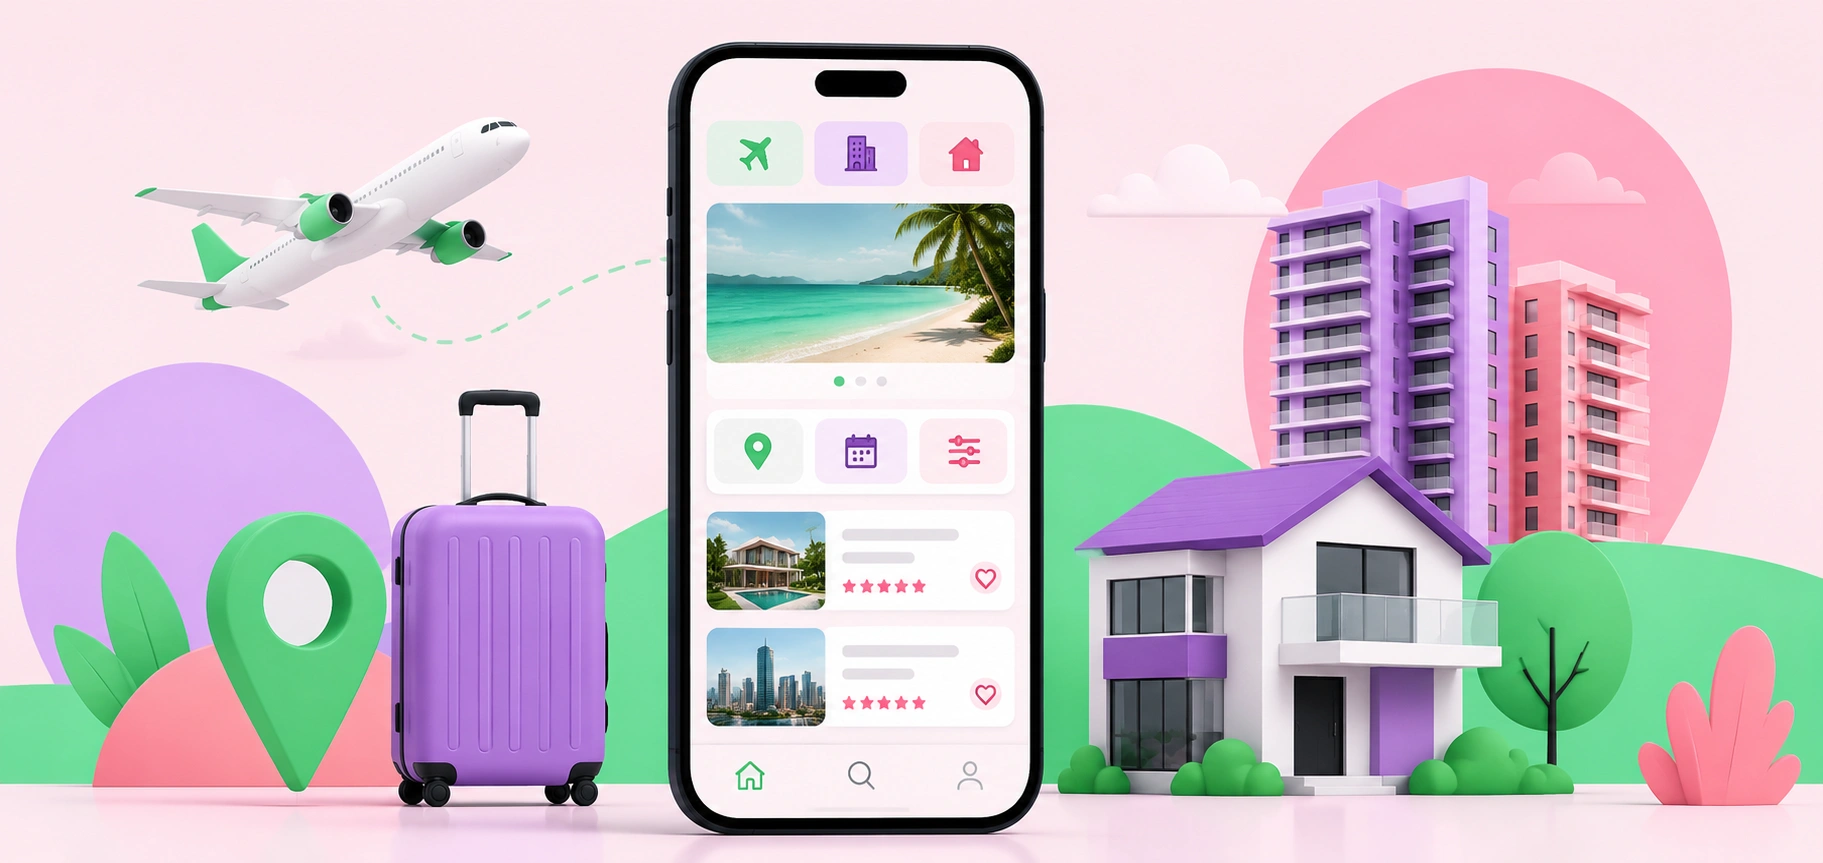
Why Mobile-First Design Is Critical for Travel and Property Searches
Mobile-first design helps travel and property websites deliver faster, smoother, and more user-friendly experiences that drive bookings and inquiries.