How to Add an Image to a Jostens Yearbook Avenue Page
Step-by-step guide to adding images to your Jostens Yearbook Avenue page, including uploading photos, placing them in layouts, and fixing common issues.
How to Add an Image to a Jostens Yearbook Avenue Page
Creating a memorable yearbook is a labor of love, and images are the heart of every great page. Jostens Yearbook Avenue is the popular online platform that schools and yearbook staff use to design, edit, and submit their yearbooks digitally. While the system is powerful, newcomers often feel unsure about exactly how to upload photos and place them correctly within a page layout. If you have ever stared at a blank image box wondering how to fill it, this guide is for you. Below, we walk through the entire process of adding an image to a Jostens Yearbook Avenue page, from uploading your photos to the library to positioning them perfectly within your design, plus tips for solving the most common issues along the way.
How WebPeak Can Help With Design and Image Workflows
Designing visually appealing layouts and managing large libraries of images is a skill that extends well beyond the classroom, and the same principles power professional digital projects. WebPeak is a full-service digital agency that helps organizations create clean, well-structured visual designs and efficient image workflows for websites, publications, and marketing materials. Their team brings the same attention to layout, image quality, and consistency that makes a yearbook shine to every client project. If you are looking to translate your love of great design into professional digital products, their graphic design services and website design expertise can help bring polished, image-rich layouts to life for audiences worldwide.
Getting Started With Jostens Yearbook Avenue
Before you can add an image, you need to log in to Yearbook Avenue using the credentials provided by your yearbook adviser or Jostens representative. Once logged in, navigate to the eDesign section, which is the online design tool where all page creation happens. From the ladder view, which displays every page of your book as thumbnails, you can double-click any page to open it in the page editor. This editor is your main workspace, containing the toolbars and panels you will use to place text, images, and design elements.
Familiarize yourself with the layout of the editor before diving in. The image library, often called the image gallery or portrait panel, holds all the photos available for your book. Understanding where your photos live and how the editor is organized will make the entire process smoother, especially when you are working under a submission deadline with multiple staff members editing different pages.
Uploading Your Photos to the Image Library
The first practical step is getting your photos into the system. In the page editor, locate the Images panel, then look for an upload button, often labeled Upload Images or shown as an upload icon. Click it and select the photos from your computer that you want to add. For the best print quality, always upload high-resolution images, ideally at least 300 DPI, because low-resolution photos that look fine on screen can appear blurry or pixelated once the book is printed.
After uploading, your images appear as thumbnails in the gallery, where you can organize them into folders or albums to stay organized. Yearbook Avenue typically warns you if an image resolution is too low for quality printing, usually with a small warning icon. Pay attention to these warnings and replace flagged images with higher-quality versions whenever possible, since print is far less forgiving of low resolution than a computer screen.
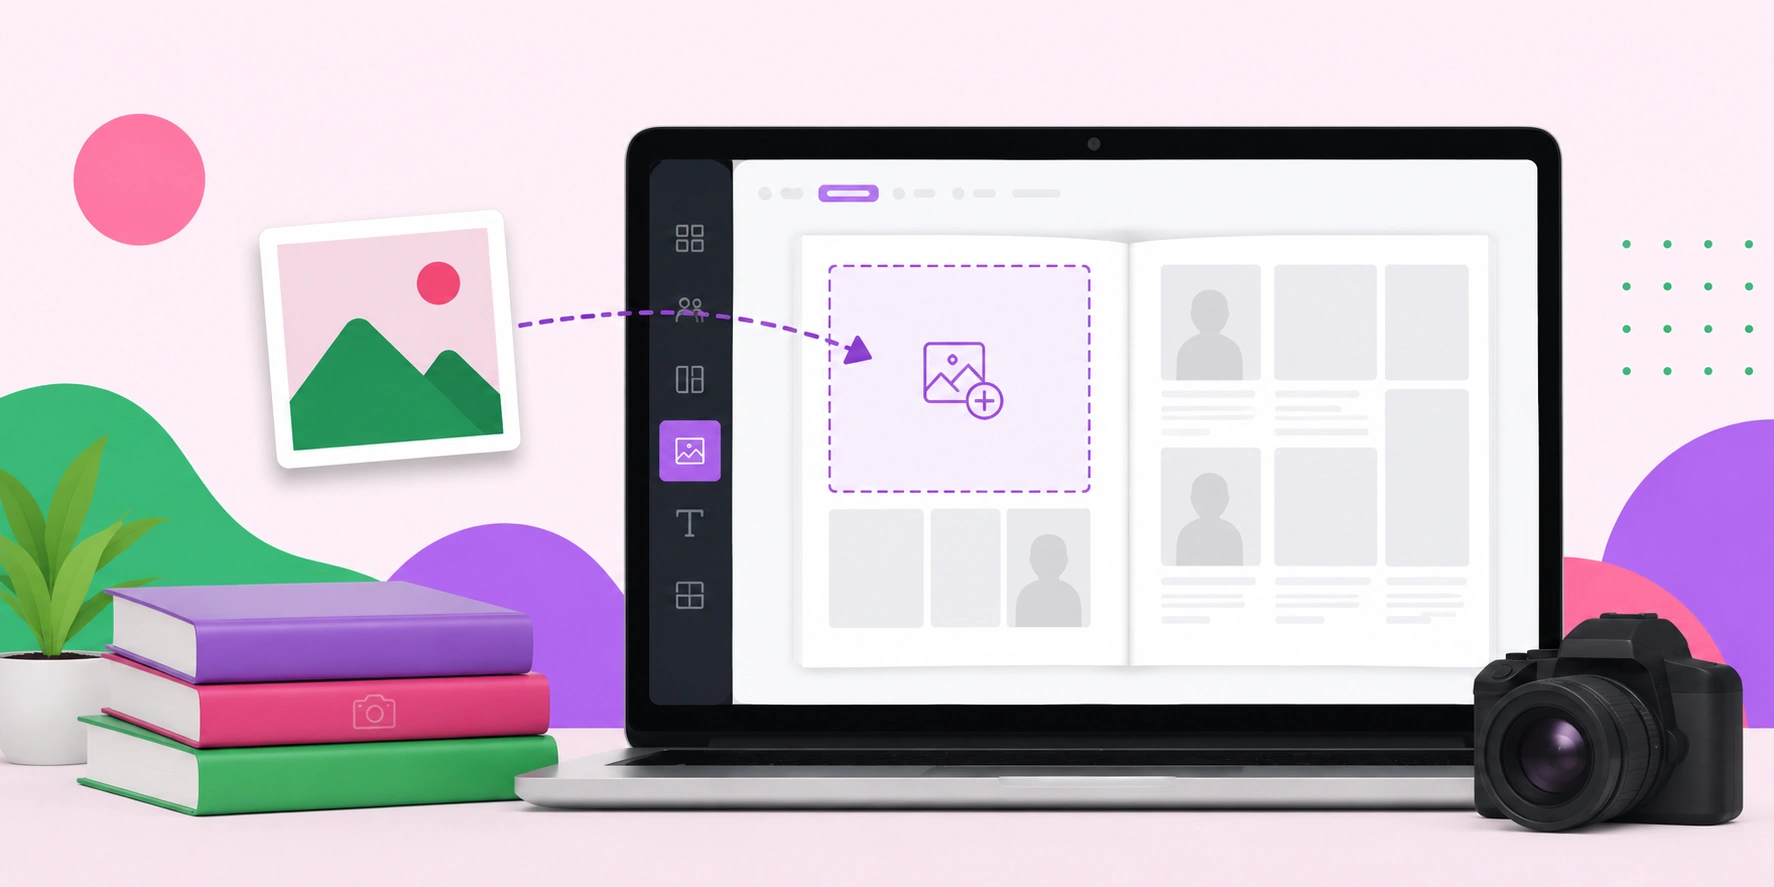
Placing an Image Onto Your Page
With your photos uploaded, adding one to the page is straightforward. Open the page where you want the image, then simply drag the desired thumbnail from the Images panel directly onto the page canvas. The image will appear as a placed element that you can move, resize, and position. Alternatively, if your page already contains an empty image box from a template, you can drag the photo directly into that box, and it will snap into place and fill the frame automatically.
Once placed, click the image to select it, then use the corner handles to resize it while holding the proportions, and drag from the center to reposition it. You can use the cropping tool to adjust which part of the photo shows within its frame, and the alignment guides help you line images up neatly with other elements. Take advantage of these controls to create balanced, visually pleasing arrangements rather than simply dropping photos in randomly.
Troubleshooting Common Image Issues
Sometimes an image will not behave the way you expect, and knowing the common fixes saves a lot of frustration. If a photo appears blurry on the page, it is almost always a resolution problem, so check for the low-resolution warning icon and swap in a sharper version. If an image will not drag onto the page, make sure it has finished uploading completely and that you are not in a locked or template-protected area of the layout.
Another frequent issue is images that look cropped incorrectly when placed into a pre-set frame. Use the internal crop or fit controls to reposition the photo within its box rather than resizing the box itself. If you accidentally move or delete an image, the undo button quickly reverses your last action. Finally, always save your work frequently and confirm changes are saved before logging out, since collaborative editing means your pages should stay in sync with the rest of your team.
Frequently Asked Questions
What image resolution do I need for a Jostens yearbook?
For sharp printed results, your images should be at least 300 DPI at the size they will appear on the page. Yearbook Avenue typically flags low-resolution photos with a warning icon, so replace any flagged images with higher-quality versions before submitting.
Why can't I drag my image onto the page?
This usually happens if the upload has not finished processing or if you are trying to place it in a locked template area. Wait for the thumbnail to fully load in the Images panel, and ensure the page section you are editing is unlocked.
How do I crop a photo inside its frame on Yearbook Avenue?
Click the placed image to select it, then use the internal crop or fit controls to reposition the photo within its box without changing the frame size. This lets you choose exactly which part of the image is visible.
Can multiple staff members add images to pages at the same time?
Yes, Yearbook Avenue is built for collaborative editing, so multiple users can work on different pages simultaneously. Just be sure each person saves their work frequently to keep the book synchronized and avoid overwriting changes.
What should I do if my uploaded image looks blurry?
A blurry appearance almost always means the image resolution is too low for print quality. Re-upload a higher-resolution version of the photo, ideally the original file straight from the camera or phone rather than a compressed or screenshot copy.
Conclusion
Adding images to a Jostens Yearbook Avenue page is a simple process once you understand the workflow: log in to eDesign, upload high-resolution photos to your image library, drag them onto your page, and refine their size, position, and cropping. Paying attention to resolution warnings and saving your work regularly will help you avoid the most common pitfalls. With these steps mastered, you can focus on the creative joy of designing pages that capture the year's best memories. And if you ever want to carry these design skills into professional digital projects, working with an experienced design and development team can help you turn a passion for great layouts into stunning, image-rich work for any audience.
Related articles
 Graphic Design
Why Are Animated GIFs Useful on Social Media?
Discover why animated GIFs boost engagement, convey emotion, and grab attention on social media, plus how brands use them effectively.
 Graphic Design
What Is a Social Media Kit? A Practical Guide for Brands and Creators
Learn what a social media kit is, what to include in one, and how a well-built kit keeps your branding consistent and saves hours across every platform.
 Graphic Design
What Is a Social Media Kit?
A social media kit is a branded toolkit of templates, logos, colors, and guidelines that keeps your social content consistent. Learn what to include and why.