Graphic Design Creative Process: A Step-by-Step Workflow
Great design rarely comes from a sudden flash of inspiration. It comes from a reliable process that makes good ideas more likely and bad ones easier to catch early. The graphic design creative process is the structured sequence of steps a designer follows to move from a client's problem to a finished, approved solution.
Quick Answer: The graphic design creative process typically follows six stages: discovery and brief, research, ideation and sketching, concept development, refinement through feedback, and final delivery. A clear process reduces revisions, helps clients trust your decisions, and produces stronger ideas, because creative exploration happens inside defined goals instead of guesswork.
What Is a Creative Process in Graphic Design?
A creative process is a repeatable framework that guides how ideas are generated, tested, and finalized. It does not remove creativity; it protects it by giving exploration a purpose and a deadline.
Several terms are worth defining. Creative brief is a short document that captures the problem, audience, goals, constraints, and success criteria. Ideation is the stage of generating many possible directions quickly. Concept is a developed idea with a clear rationale, presented to the client. Iteration is the cycle of improving a design based on feedback. Design rationale is the explanation of why a solution works for the stated goals.
Clients often experience design as mysterious. A visible process changes that. When a client knows that discovery leads to research, which leads to concepts, which lead to structured feedback rounds, they feel included and confident. That confidence is a competitive advantage, and it pairs naturally with strong layout skills; the nine composition principles pros rely on are applied mainly during the concept and refinement stages described below.
The process scales. A logo, a website, and a packaging system all follow the same essential stages, though the time spent in each one changes with project complexity.
The Six Stages of a Professional Design Workflow
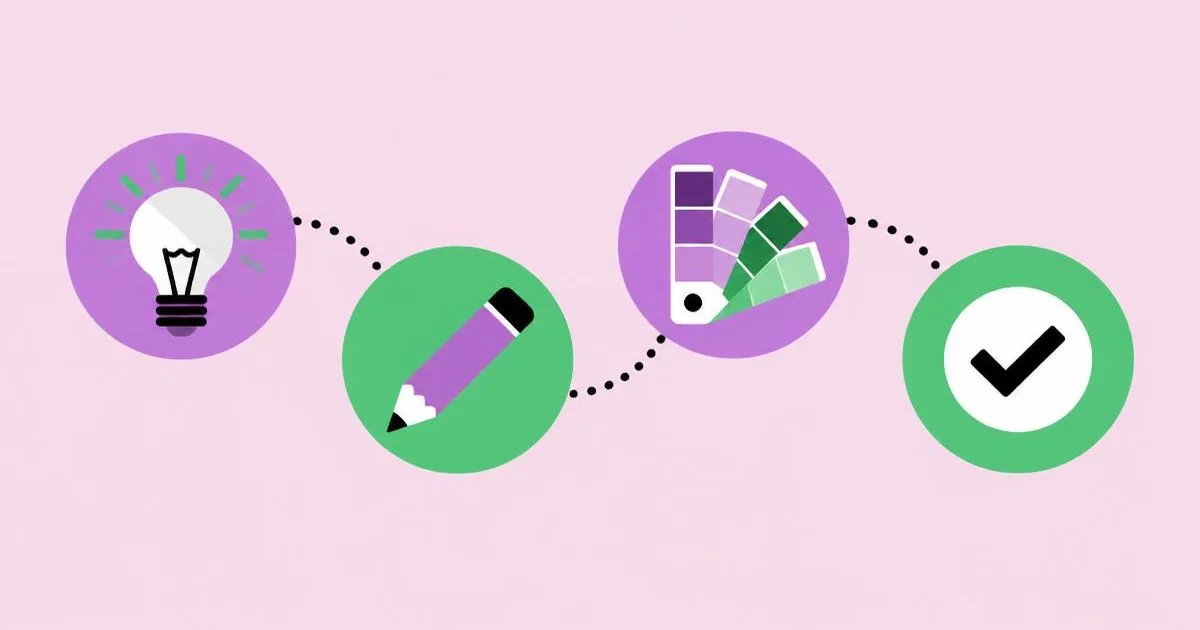
These six stages form the backbone of most professional design workflows. Each stage has a clear output that feeds the next.
- Discovery and brief: Meet with the client to understand the business, audience, goals, competitors, and constraints. Output: a written creative brief the client approves.
- Research: Study the market, competitors, audience behavior, and visual references. Gather existing brand assets. Output: a research summary and a mood board or reference collection.
- Ideation and sketching: Generate many rough ideas quickly, on paper or digitally, without judging them. Output: a large set of thumbnails and word lists.
- Concept development: Select the strongest two or three directions and develop them into presentable concepts with a rationale for each. Output: a concept presentation.
- Refinement and feedback: Present concepts, gather structured feedback, and refine the chosen direction through a defined number of revision rounds. Output: an approved final design.
- Delivery and handoff: Prepare final files in every required format, create usage guidelines if needed, and hand everything over. Output: a complete, organized file package.
Some designers add a seventh stage, review, where they evaluate the project afterward to improve their process. It is highly recommended, even if it is a fifteen-minute internal note.
Process Stages Compared by Time, Output, and Risk
Each stage carries a different share of time and a different risk if skipped. This table shows where projects most often go wrong.
| Stage | Typical Share of Effort | Key Output | Risk If Rushed or Skipped |
|---|---|---|---|
| Discovery and brief | Small | Approved creative brief | Solving the wrong problem entirely |
| Research | Small to moderate | Mood board and research notes | Generic or derivative design |
| Ideation and concepts | Moderate to large | Concept presentation | Weak ideas presented with polish |
| Refinement and feedback | Moderate | Approved final design | Endless revisions and unclear approvals |
| Delivery and handoff | Small | Organized final file package | Client cannot use the work correctly |
The early stages take the least time but have the greatest impact. A rushed brief causes problems that no amount of polishing can fix later.
Why Process Beats Inspiration: A Practitioner Analysis
Over many years of client work, the projects that went smoothly almost always had one thing in common: a strong brief and a clearly communicated process. This is practitioner analysis rather than formal research, but the pattern holds across industries.
The brief prevents the most expensive mistake: solving the wrong problem. When a client and designer agree in writing on audience, goals, and constraints, feedback becomes objective. Instead of "I don't like it," the conversation becomes "Does this reach the audience we defined?" That shift alone shortens revision cycles noticeably.
Quantity in ideation leads to quality in concepts. Designers who generate many rough ideas before choosing tend to find more original solutions than those who develop their first idea. Early ideas are usually the most obvious ones, and competitors have probably had them too.
Presenting fewer concepts, with rationale, works better than presenting many. Two or three well-reasoned directions give clients a meaningful choice without overwhelming them. Presenting ten options often signals uncertainty and leads to requests to combine elements awkwardly.
Structured feedback protects quality. Asking clients to consolidate feedback through one point of contact, and to tie comments back to the brief, prevents conflicting direction from multiple stakeholders. This structure works best when it is written into your agreement; our guide to the clauses every design contract needs shows how to formalize revision rounds and approvals.
Process makes pricing more accurate as well. When every project moves through the same named stages, you can track roughly how long each stage takes for different project types. Over time that history turns estimates from guesses into informed numbers, which protects margins and helps you explain fees to clients who want to know where their budget goes.
It also makes collaboration easier. When a studio brings in a freelancer, an illustrator, or a developer, a shared process tells everyone where the project stands and what is expected next. Handoffs become calmer because each stage has a defined output that the next person can pick up without a long explanation.
Process also improves the designer's well-being. Clear stages make deadlines manageable and reduce the anxiety of starting from a blank page.
Common Creative Process Mistakes and How to Avoid Them
The most damaging process mistakes happen early and compound later. Here are the ones to watch.
Skipping the written brief. Verbal agreements fade and shift. Always summarize the discovery conversation in a short brief and get client approval before designing.
Jumping straight to the computer. Software encourages polishing too early. Start with fast sketches that let you explore structure and ideas before details.
Falling in love with the first idea. First ideas are often the most predictable. Push past them deliberately by generating many alternatives.
Showing too many concepts. Large option sets confuse clients. Curate to the strongest two or three and explain each one.
Presenting without rationale. Designs shown without explanation get judged on personal taste. Link every concept back to the brief's goals and audience.
Accepting unstructured feedback. Scattered comments from multiple people lead to conflicting changes. Request consolidated feedback tied to specific goals.
Delivering messy files. Disorganized or incorrectly formatted files undermine an otherwise great project. Use clear naming, organized folders, and a short usage guide.
Never reviewing the project. Without reflection, the same problems repeat. Spend a few minutes after each project noting what worked and what to change.
Implementation Walkthrough: A Brand Identity Project in Five Weeks
Here is how the six-stage process plays out on a realistic project: a brand identity for a new independent coffee roaster.
Week one: discovery and brief. Hold a ninety-minute discovery session covering the roaster's story, target customers, competitors, price positioning, and where the brand will appear. Write a one-page brief with goals such as "feel craft-focused but approachable" and get written approval.
Week one to two: research. Visit local cafes and review competitor packaging and social channels. Note common visual clichés in the category, such as specific illustration styles, so you can avoid them. Build a focused mood board and share it to confirm direction.
Week two: ideation. Spend two focused sessions sketching dozens of logo and identity ideas, exploring symbols, wordmarks, and typographic approaches. Write word lists around themes like origin, roasting, and community.
Week three: concept development. Select three directions. Develop each into a logo, a color palette, typography, and a sample application like a coffee bag mockup. Write a short rationale for each tied to the brief.
Week four: refinement. Present the concepts in a live meeting, walking through rationale. Collect consolidated feedback in writing. Refine the chosen direction through two revision rounds, checking legibility at small sizes and in one color.
Week five: delivery. Export the logo suite in vector and raster formats, create color specifications for print and screen, and assemble a concise brand guide. Deliver everything in a clearly organized folder and schedule a short handoff call.
Throughout the project, share a simple status note at the end of each week covering what was completed, what is next, and what you need from the client. These short updates prevent surprises and keep approvals moving.
After delivery, write a brief internal review: what slowed the project, what the client loved, and what to improve next time.
Key Takeaways
- The graphic design creative process moves through discovery, research, ideation, concepts, refinement, and delivery.
- A written, approved creative brief is the single most effective tool for reducing revisions.
- Generating many rough ideas before choosing produces more original concepts than developing the first idea.
- Presenting two or three concepts with clear rationale leads to faster, more confident client decisions.
- Organized delivery and a short post-project review turn every project into a process improvement.
Frequently Asked Questions
What are the steps of the graphic design process?
The common steps are discovery and brief, research, ideation and sketching, concept development, refinement through feedback, and final delivery. Some designers add a post-project review. The exact names vary, but every professional workflow moves from understanding the problem, to exploring solutions, to refining one, and finally handing it over.
How long does the design process usually take?
Duration depends on project scope and client responsiveness. A simple logo might take two to three weeks, while a full brand identity or website often takes several weeks to a few months. Feedback speed is usually the biggest variable, so timelines should be tied to client review dates in the agreement.
Why is a creative brief so important?
A creative brief aligns designer and client on the problem, audience, goals, and constraints before any design work begins. It turns subjective feedback into objective evaluation against agreed goals. Without a brief, designers risk solving the wrong problem, which leads to wasted concepts, frustration, and many extra revision rounds.
How many concepts should I present to a client?
Two or three well-developed concepts is a strong default. This offers meaningful choice without overwhelming the client or diluting your effort. Each concept should be distinct and come with a short rationale linking it to the brief. Presenting too many options often signals uncertainty and leads to confused feedback.
Should I sketch by hand or start digitally?
Many designers sketch by hand first because it is fast and keeps focus on ideas rather than details. Digital sketching on a tablet works well too. The key is to explore roughly and quickly before polishing. Starting directly with refined digital work tends to narrow exploration too early.
How do I handle difficult client feedback?
Tie feedback back to the creative brief by asking how each change supports the agreed goals. Request consolidated written feedback from one decision-maker. When a request conflicts with the goals, explain the trade-off calmly and offer alternatives. Clear revision limits in the contract help keep discussions productive and respectful.
Conclusion
The most important insight about the graphic design creative process is that the early stages decide the outcome. A strong brief and honest research make every later step faster and every concept more relevant. Treat the process as a promise to your clients and as a tool for your own creative focus. Your next step is to showcase this process publicly, since a visible workflow is one of the trust signals that makes graphic design company websites win clients.