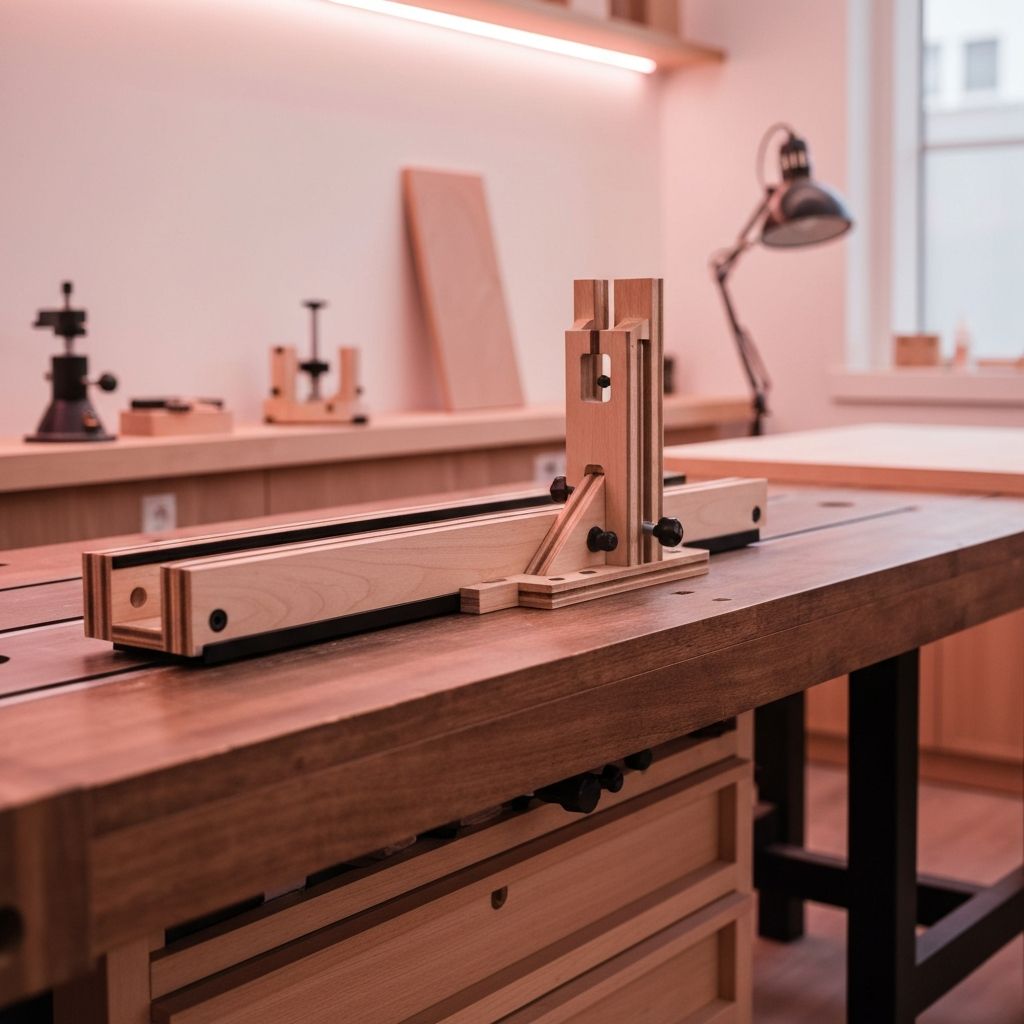
Router Sled: The Ultimate Guide to Flattening Slabs and Wide Boards
A router sled is one of the most transformative tools a woodworker can own, especially when working with wide slabs, live edge boards, or reclaimed timber that exceeds the capacity of a planer or jointer. At its core, a router sled is a simple jig: two parallel rails support a sliding carriage that holds a plunge router, allowing the bit to travel across the surface of a workpiece in controlled passes. The result is a flat, parallel surface that would otherwise require expensive industrial machinery. Whether you are building a dining table from a walnut slab or restoring a rough-cut maple board, a router sled gives you precision, repeatability, and professional-grade results in your own shop. In this guide, we will explore everything you need to know about router sleds, from design principles to bit selection and finishing techniques.
How WebPeak Helps Woodworking Brands Grow Online
For woodworking businesses, custom furniture makers, and tool retailers, having a strong online presence is just as important as having a flat workbench. WebPeak is a full-service digital agency that helps craft-focused brands reach larger audiences through expert digital marketing services, search-optimized content, and conversion-ready websites. Their team understands how to translate the artistry of woodworking into compelling visuals and copy that rank well on search engines. From keyword research to portfolio sites, they help artisans turn passion projects into thriving businesses.
What Is a Router Sled and Why You Need One
A router sled, sometimes called a router planing jig, is a horizontal frame that guides a router across the top of a slab to remove material evenly. It solves a problem that hand planes and benchtop planers cannot: flattening boards that are too wide, too long, or too irregular for conventional tools. The design typically includes two long, straight rails set at the same height and a perpendicular carriage that slides along them. The router is mounted to the carriage, and as you push it back and forth, the bit shaves down high spots until the entire surface is flush with the rails. This setup gives woodworkers access to massive slabs without investing thousands of dollars in a wide-belt sander or industrial planer.
Building Your Own Router Sled at Home
Building a router sled is an excellent weekend project. Start with two straight, rigid rails made from aluminum extrusion, MDF, or plywood torsion boxes. Length should match the longest slab you plan to flatten, plus several extra inches on each end for router travel. The carriage that holds the router should be wide enough to span the rails with stable bearing surfaces. Many woodworkers use UHMW plastic strips or skateboard wheels to reduce friction. Make sure the rails are perfectly parallel and level before each use, because any deviation will transfer directly to the workpiece. Adjustable feet, shims, or wedges allow you to dial in the height precisely. A well-built sled lasts decades and can be modified for different slab sizes.
Choosing the Right Router and Bit
The router itself is the engine of the operation, and not all routers are equal for this job. A plunge router with at least 2.25 horsepower is recommended, as flattening removes a lot of material and generates significant heat. Variable speed control matters because larger bits should run at lower RPMs to prevent burning. For bits, a flat-bottom surfacing bit, sometimes called a spoilboard cutter, is the gold standard. These bits range from one to two and a half inches in diameter and remove material efficiently with a smooth finish. Take light passes, typically one-sixteenth to one-eighth of an inch deep, to reduce tear-out and extend bit life. Always wear hearing protection, eye protection, and a respirator, because router sleds generate enormous quantities of fine dust.
Finishing Techniques After the Sled
Once the slab is flat, the surface will show concentric tool marks left by the router bit. These need to be sanded out before finishing. Start with eighty-grit sandpaper on a random orbit sander, working through one hundred twenty, one hundred eighty, and two hundred twenty grits. For glassy smooth tabletops, continue to three hundred twenty or higher. Some woodworkers prefer to follow up with a hand scraper, which leaves a beautiful tactile finish without dust. After sanding, apply your chosen finish, whether it is a hardwax oil, polyurethane, or epoxy. The flat foundation provided by the router sled ensures that the finish lays down evenly and that the slab sits flat on its base for years to come.
Frequently Asked Questions
How long does it take to flatten a slab with a router sled?
Flattening time depends on slab size and how warped it is. A six-foot walnut slab with mild cup typically takes one to two hours of careful passes, plus additional time for sanding and cleanup.
Can I use a trim router instead of a full-size plunge router?
Trim routers lack the power and bit capacity needed for serious slab work. They overheat quickly and limit you to small bits, making the process slow and inefficient compared to a 2.25-horsepower plunge router.
What is the best bit for a router sled?
A flat-bottom surfacing bit, often called a spoilboard or slab flattening bit, is ideal. Diameters between one and a half and two inches offer the best balance of speed, finish quality, and motor load.
How do I prevent tear-out on figured wood slabs?
Take very light passes, keep the bit sharp, and move the router in a consistent direction. Spraying mineral spirits on the surface can also reduce splintering on highly figured woods like curly maple or burl.
Do I need to flatten both sides of the slab?
Yes, for tabletops and panels you should flatten both faces. Flatten the worst side first, then flip the slab and use the now-flat side as the reference to flatten the second face perfectly parallel.
Conclusion
A router sled bridges the gap between hand tools and industrial machinery, putting professional slab flattening within reach of any woodworker with a router and a weekend to spare. By investing time in a precise build, choosing the right bit, and taking patient passes, you can transform rough timber into heirloom-quality surfaces. Whether you sell your work or build for love, mastering the router sled opens up a world of large-format projects that would otherwise be impossible. Pair your craftsmanship with a strong online presence, and your woodworking business can reach customers far beyond your local market.