graphic design for apparel: Print-Ready Artwork Guide
A graphic that looks crisp on a monitor can lose fine lettering, shift color, or sit awkwardly once applied to clothing. Graphic design for apparel is the preparation of visual artwork for a specific garment, decoration method, and production workflow. Print readiness therefore means more than exporting a high-resolution file: it requires suitable detail, controlled color, measurable placement, and an approved production reference. Before designing, identify the actual garment style and fabric, expected order quantity, size range, and decorator. Those decisions determine which visual ideas can survive manufacturing without expensive reinterpretation.
Quick Answer: Build apparel artwork at its intended physical size, match detail and color to the decoration method, and confirm file requirements with the producer. Supply placement measurements, clearly labeled colors, and an approved proof. For embroidery, commission digitizing; for screen printing, confirm separations; for DTG, verify transparency and garment compatibility.
What does print-ready graphic design for apparel actually mean?
Print-ready apparel artwork is a production file that a decorator can reproduce at an agreed size, location, and appearance without unresolved design decisions. A mockup communicates the concept, but it rarely specifies enough for manufacturing. The artwork, production instructions, and approved proof must agree on dimensions, colors, orientation, and garment identity.
Vector artwork describes shapes with paths, making it useful for logos, lettering, and spot-color graphics. Raster artwork uses pixels and suits photographs or textured illustrations. Neither format guarantees suitability: a vector logo can contain unprintable gaps, while a properly sized raster illustration can reproduce well. Apply the checks in choosing lettering that survives garment decoration before committing to narrow counters or delicate strokes.
Color separations divide artwork into the individual channels needed for printing. Screen printing commonly requires one screen per ink channel, sometimes including a white underbase. Embroidery instead requires digitizing: the translation of artwork into stitch types, stitch directions, sequencing, and machine instructions. A vector file alone is not an embroidery machine file.
Placement describes where decoration sits on a garment, measured from defined reference points. A production proof records what will be made and what the customer approves. Agree whether that proof is a digital layout, printed strike-off, embroidery sew-out, or finished sample. Each validates different risks; a digital mockup cannot confirm ink opacity, fabric distortion, or stitch coverage. Mark any simulated texture or lighting as presentation-only so it cannot be mistaken for part of the decoration.
How to prepare artwork through a controlled production process
A reliable apparel workflow resolves garment, method, artwork, and approval requirements before production files are released. Use a written checklist shared with the decorator rather than relying on assumptions carried over from another supplier or previous order.
- Identify the blank: Record manufacturer, style, fabric composition, garment color, size range, and any decoration restrictions. Request the actual product when seams or panels affect placement.
- Confirm the method: Ask about usable print area, supported inks or threads, minimum reproducible detail, and whether specialty fabrics require testing.
- Set final dimensions: Build each design at its intended physical size. Record width and height in one consistent measurement system.
- Prepare the artwork: Remove stray objects, inspect transparency, check raster resolution at output size, and separate decoration graphics from mockup elements.
- Specify color: Label intended spot colors or thread references. For photographic printing, follow the supplier's requested color space and profile.
- Approve and release: Review the agreed proof type, resolve deviations, and issue a uniquely named final revision with its production instructions.
For raster files, 300 pixels per inch at final print size is a common starting point, not a universal acceptance rule. A 12-inch-wide graphic at that resolution requires 3,600 pixels across. Enlarging a small image and changing its resolution metadata does not restore missing detail.
Keep an editable master and a separate production export. Outline fonts in the export when requested, while retaining live text in the master. Package linked images when needed, remove obsolete versions from the delivery folder, and identify the person authorized to approve changes. Require renewed approval if the decorator changes dimensions or removes fine detail.
Which decoration method best matches the artwork?
Screen printing, embroidery, and direct-to-garment printing impose different constraints on detail, color, texture, and garment selection. Choose the method before polishing effects that may not translate, then ask the decorator to confirm compatibility with the specific blank.
| Method | Useful applications | Artwork preparation | Critical check |
|---|---|---|---|
| Spot-color screen printing | Bold logos and repeated graphics | Defined ink colors and separations | Registration and underbase behavior |
| Halftone screen printing | Tonal illustrations and controlled gradients | Supplier-approved tonal channels | Dot retention on actual fabric |
| Embroidery | Small emblems and textured branding | Simplified artwork for digitizing | Letter clarity and fabric stability |
| DTG | Photographs and multicolor illustrations | Properly sized raster artwork | Pretreatment, opacity, and edge quality |
Screen printing can create durable, repeatable graphics, but every additional ink channel adds production considerations. A dark garment may need a white underbase even when white is not visible in the finished design. Ask whether the underbase, visible white, and highlight white are separate channels in the proposed setup.
Embroidery adds physical relief, making it unsuitable for treating every tiny detail as a flat printed shape. Dense fills can distort lightweight fabric, and small lettering may need simplification or enlargement. Thread sheen changes perceived color with viewing angle, so review physical thread options and a sew-out rather than matching only against a monitor.
DTG accommodates complex color without preparing individual screens, but results depend on fabric, pretreatment, ink system, and curing. Cotton-rich blanks are common candidates; blends and polyester require explicit supplier confirmation. Test translucent pixels and soft fades on the intended garment color because white-ink handling can change their appearance. Compare samples on equivalent blanks rather than judging one method on a heavyweight shirt and another on thin fabric.
Practitioner analysis: separations, underbases, and placement
Production-quality apparel graphics depend on managing interactions between artwork geometry, the garment surface, and the decoration process. Inspect overlaps, small openings, thin outlines, and alignment-sensitive elements at actual output size instead of judging the design only while zoomed in.
For screen printing, ask who owns separation preparation. If the decorator handles separations, provide clean source artwork and labeled color intent rather than improvised channels. If supplying separated files, confirm naming, output format, halftone requirements, and whether trapping is already applied. Trapping creates controlled overlap between adjacent colors to reduce visible gaps caused by registration movement.
An underbase supports color on dark fabric, but its edge may need choking inward to avoid a white halo. Do not apply a universal choke value: mesh, ink behavior, image detail, and press capability affect the appropriate adjustment. Similarly, halftone frequency and angles belong in a conversation with the printer, not a generic export preset.
Placement requires both a horizontal center reference and a vertical measurement. Specify whether a top-edge measurement starts at the collar seam, neckline edge, or another agreed landmark. For a left-chest graphic, confirm the decorator's reference method rather than using an ambiguous instruction such as “over the heart.” Account for pockets, plackets, zippers, and size-dependent panel widths.
Document these decisions when presenting apparel project examples with production evidence. Pair the concept with a placement diagram and an approved sample photograph. This demonstrates how the design was adapted for manufacturing without implying that a polished mockup proves production success.
Common artwork mistakes and how to prevent them
The most preventable apparel failures come from missing specifications, inappropriate detail, and approvals that do not test the actual production risk. Run a preflight review against the chosen method rather than applying one checklist identically to every decoration process.
Hidden backgrounds and edge halos: A white rectangle behind a raster graphic may print unless deliberately removed. Inspect transparent artwork over both light and dark temporary backgrounds. Look for pale edge pixels left from removing a previous background, especially around hair, distressed textures, or scanned drawings. Export without the inspection backgrounds.
Fragile lettering and distress: Tiny holes and hairline fragments can fill in during screen printing or disappear in embroidery. Ask for minimum positive-line and negative-gap guidance at the final size. If the supplier cannot confidently reproduce a detail, enlarge it, simplify it, or remove it intentionally before approval.
Confusing garment color with ink: A navy area may represent navy ink or an opening that reveals the shirt. Label knockouts explicitly, and check that the same artwork still makes sense on every garment colorway. A design relying on the garment for shadows may need revision on a light blank.
Approving only the front view: A flat mockup cannot reveal artwork crossing a side seam, colliding with a hood, or extending beyond a small garment's usable area. Review the smallest and largest sizes, and inspect garments worn or laid out naturally. If one decoration size cannot serve the range, define separate size groups and provide distinct placement instructions for each group.
A specific implementation walkthrough for a two-location shirt
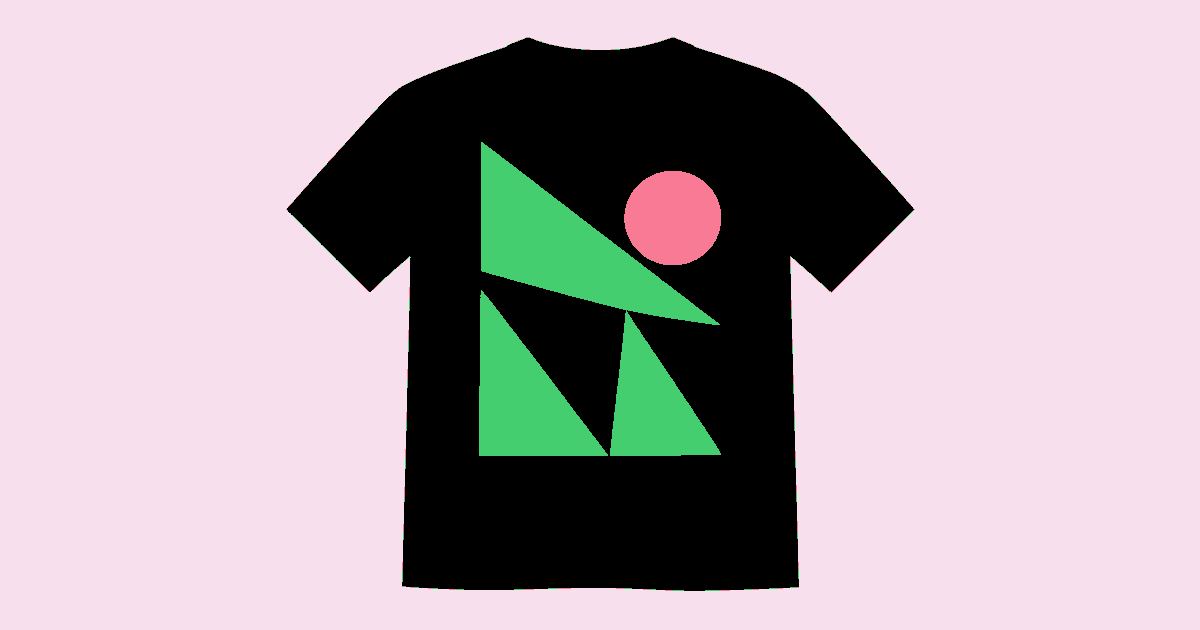
A hypothetical black cotton event shirt with a three-color back graphic and a small embroidered chest emblem needs two coordinated production workflows. Treat each location as a separate specification while keeping garment identity, quantities, and approval status in one job record.
First, request the actual blank and confirm that the chest area can support embroidery without unacceptable puckering. Ask the decorator to evaluate backing and hoop access. Establish back-print dimensions against the smallest ordered size, then decide whether larger sizes need a second artwork size. Record that decision before preparing files.
Second, rebuild the back graphic with three clearly named intended ink colors and no accidental duplicate swatches. Identify which black areas are garment knockouts. Let the screen printer determine whether the design needs an underbase and whether visible white requires a separate screen. Request a separation preview showing every planned channel.
Third, simplify the chest emblem independently. Remove tiny secondary wording if it cannot survive at the selected width, and widen narrow openings where necessary. Send the approved visual reference for digitizing, then inspect a sew-out on the actual blank or a comparable fabric before approving the production sample.
Finally, assemble a proof sheet containing front and back views, dimensions, placement references, ink and thread references, garment style, and revision number. Approve a decorated sample if the combined processes could affect handling or positioning. Check back-print registration, chest alignment, inside backing, and overall garment condition. After any correction, replace the superseded proof and obtain written approval of the revised version rather than relying on a verbal instruction.
Key Takeaways
- Choose the process early: Confirm the garment, decoration method, usable area, and supplier requirements before investing in details that production may force you to remove.
- Build at output size: Check physical dimensions, effective raster resolution, lettering clarity, and negative spaces using the actual decoration size rather than an enlarged screen view.
- Assign technical ownership: State who prepares separations, underbases, halftones, and embroidery digitizing so adjustments are neither duplicated nor omitted during the handoff.
- Measure every placement: Give explicit reference points, account for construction features, and define separate artwork sizes when the garment range cannot share one specification.
- Approve what matters: Match the proof type to the risk, retain the approved reference, and require renewed approval whenever production changes alter the agreed appearance.
Frequently Asked Questions
These production questions should be resolved with the decorator before final artwork approval.
Is a PNG enough for apparel printing?
A PNG can be suitable for DTG when it has adequate pixel dimensions, appropriate transparency, and the supplier's requested color handling. It may be insufficient for editable spot-color separation work or embroidery preparation. Ask what the decorator needs for the selected method, not simply which extensions they accept.
Should apparel artwork use RGB or CMYK?
Use the color setup requested by the production provider. DTG workflows may prefer RGB input, while screen printing often relies on named spot colors and custom separations. Converting everything to CMYK by habit can reduce useful color information without solving the actual output requirements.
Can the same artwork be printed and embroidered?
The same identity can support both methods, but the production versions often need different detail levels. Embroidery may require larger lettering, fewer small openings, and simplified shading. Preserve the essential silhouette and hierarchy, then approve separate print and stitch versions rather than forcing identical geometry.
How should a chest graphic be positioned?
Specify its finished width and height, a horizontal reference, and a vertical reference agreed with the decorator. Include a diagram identifying the measurement landmarks. Check pockets, plackets, and garment sizes; a visually convincing mockup alone does not establish a repeatable position on the production floor.
Does every dark shirt need a white underbase?
No; the need depends on ink system, decoration method, fabric, and intended appearance. Bright screen-printed colors commonly benefit from an underbase, while some effects deliberately use garment influence. Ask the printer to explain the proposed ink stack and verify the result on the actual garment.
What should be checked on a physical sample?
Compare dimensions, position, color relationships, edge quality, coverage, and garment distortion against the approved specification. For embroidery, inspect small lettering and puckering; for printing, inspect registration and opacity. Agree on any wash-testing procedure in advance, including care instructions and the criteria used to accept the result.
Conclusion
Print-ready apparel artwork combines a clear visual idea with explicit manufacturing instructions and a relevant approval reference. Start with the blank and decoration process, build at final size, clarify color and separation ownership, and measure placement from agreed landmarks. Use physical samples where digital proofs cannot verify fabric behavior, thread coverage, or ink appearance.
When commissioning outside help, assess whether a studio can manage these handoffs using criteria for selecting a studio for apparel production. Deliver one controlled file package, preserve the approved proof, and document changes before the run begins. This gives the decorator a reproducible target and gives the buyer a concrete basis for acceptance.